Cardboard boxes are often kind of overlooked as mere packaging materials, but they hold incredible potential for creativity and craftiness.
Now, if you have a stash of old boxes lying around, they can help you embark on a new crafting adventure, cardboard can be transformed into a myriad of imaginative projects.
In this article, we’ll explore creative DIY crafts that you can make using cardboard boxes.
Creative DIY Crafts with Cardboard Boxes
1. Cardboard Cat Cave
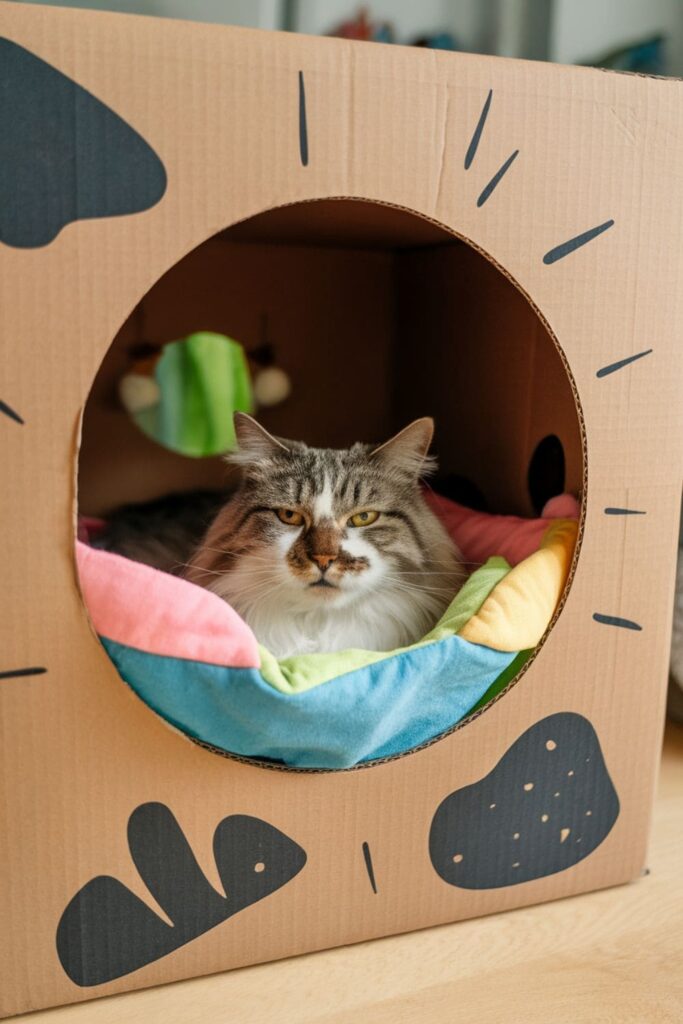
Try changing an ordinary cardboard box into a cozy cat cave, I think that this project is perfect for pet owners looking to provide their furry friends with a comfy hideaway.
How to Make It:
- Materials Needed: A large cardboard box, scissors, old t-shirts (for lining), and optional decorations.
- Instructions:
- Cut an entrance into one side of the box large enough for your cat to enter comfortably.
- Line the inside with soft fabric from old t-shirts or blankets.
Your cat will definetly love having their own private space to meow.
2. Cardboard Miniature Garden
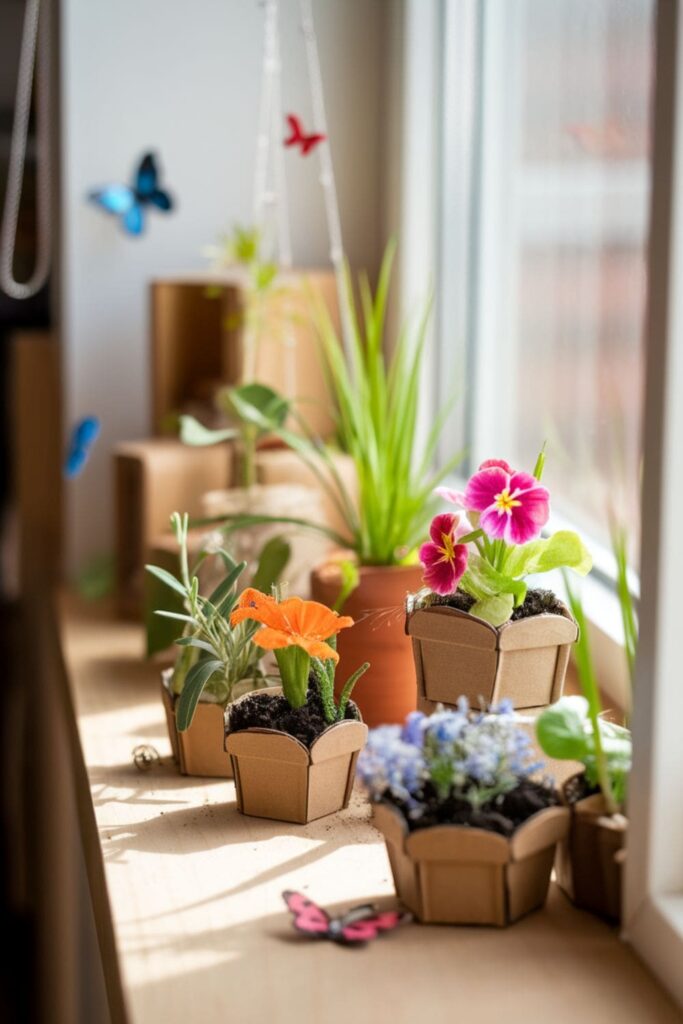
Think of creating a charming miniature garden using cardboard, this project is perfect for displaying small plants or creating a whimsical scene.
How to Make It:
- Materials Needed: Cardboard sheets, scissors, soil, small plants or artificial flowers.
- Instructions:
- Cut out shapes from cardboard to create garden beds or pots.
- Fill them with soil before planting flowers or herbs.
This miniature garden can be displayed on your windowsills or tables as a beautiful decoration.
3. Cardboard Log Cabin
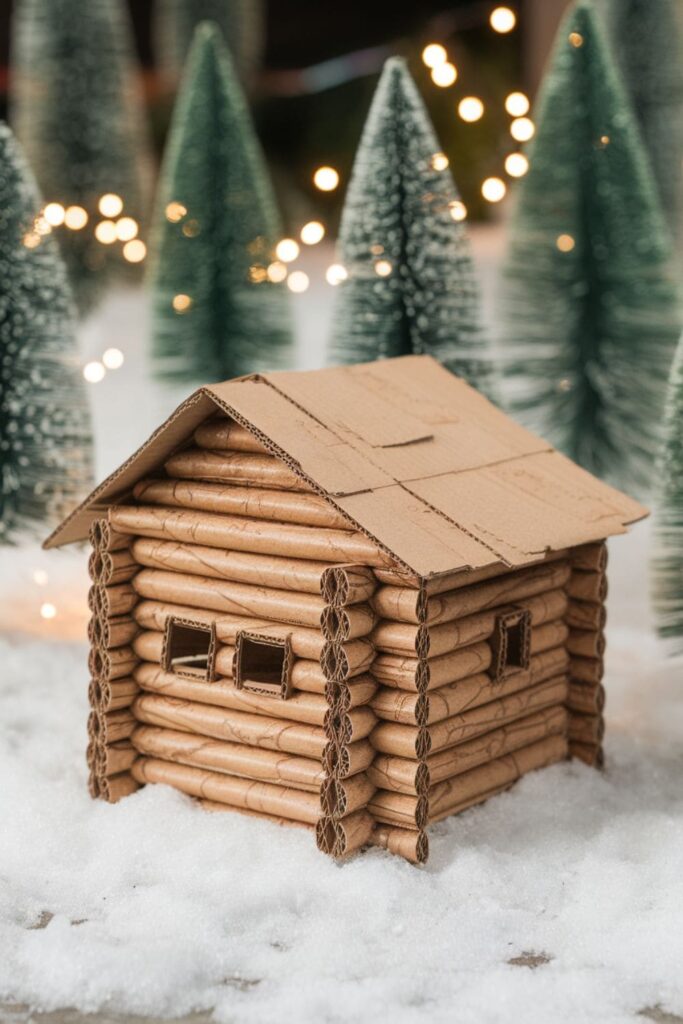
You can craft a delightful log cabin using cardboard that can serve as décor or part of a miniature scene, this project is perfect for winter displays.
How to Make It:
- Materials Needed: Corrugated cardboard (like coffee cup sleeves), scissors, glue.
- Instructions:
- Cut pieces of corrugated cardboard into logs by slicing them into small sections.
- Assemble them into a cabin shape using glue.
This charming log cabin will add character to any holiday display.
4. Cardboard Box Airplane
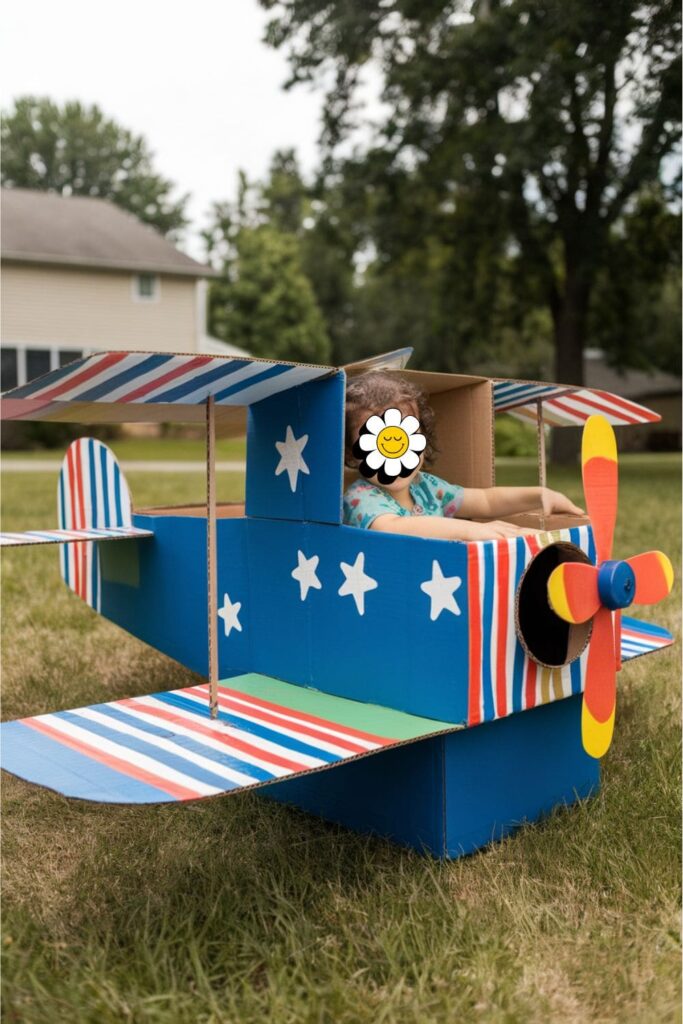
Now, let kids take flight with their very own cardboard airplane, this craft is simple yet allows for plenty of customization.
How to Make It:
- Materials Needed: A medium-sized cardboard box, scissors, markers, and clear sticky tape.
- Instructions:
- Cut off flaps from the top of the box.
- Trim longer sides into crescent shapes for propellers and cut wings from remaining flaps.
- Attach wings and propellers using tape or glue.
Children can hop inside their “airplane” for unimaginable adventures in the sky.
5. Cardboard Camera Obscura
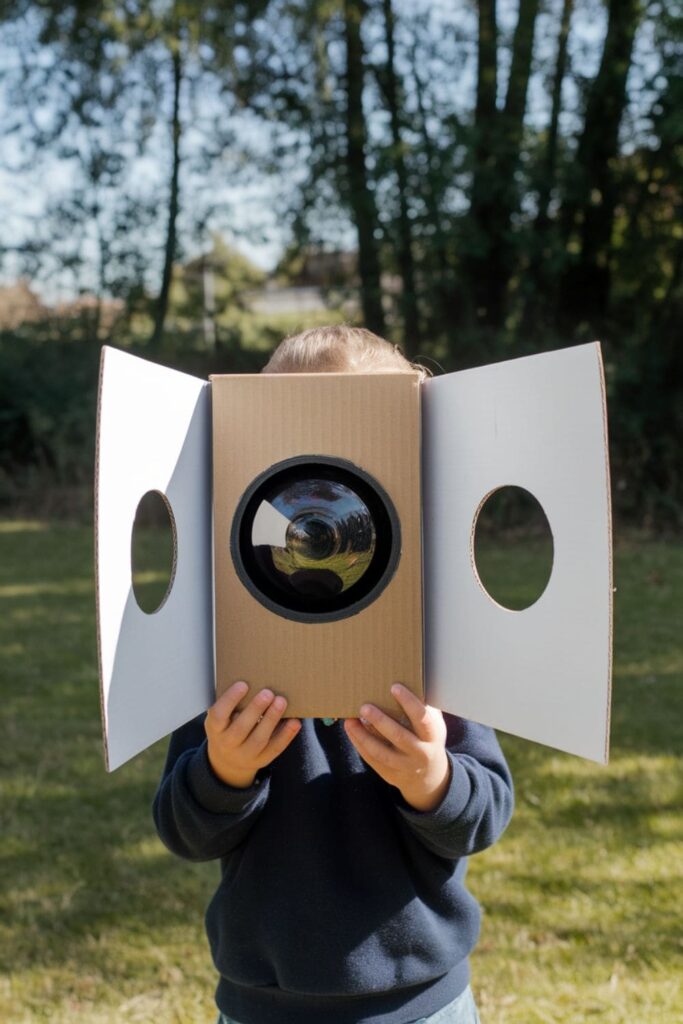
Try introducing kids to basic optics with a fun cardboard camera obscura, this STEM activity is both educational and entertaining.
How to Make It:
- Materials Needed: A small cardboard box (like a shoebox), white paper, scissors, markers, and tape.
- Instructions:
- Cut a piece of white paper to fit one side of the box and tape it in place.
- Make two holes (one small and one medium) on the opposite side of the box.
When light enters through the holes, children will see an upside-down reflection on the white paper.
6. Cardboard Box Boat
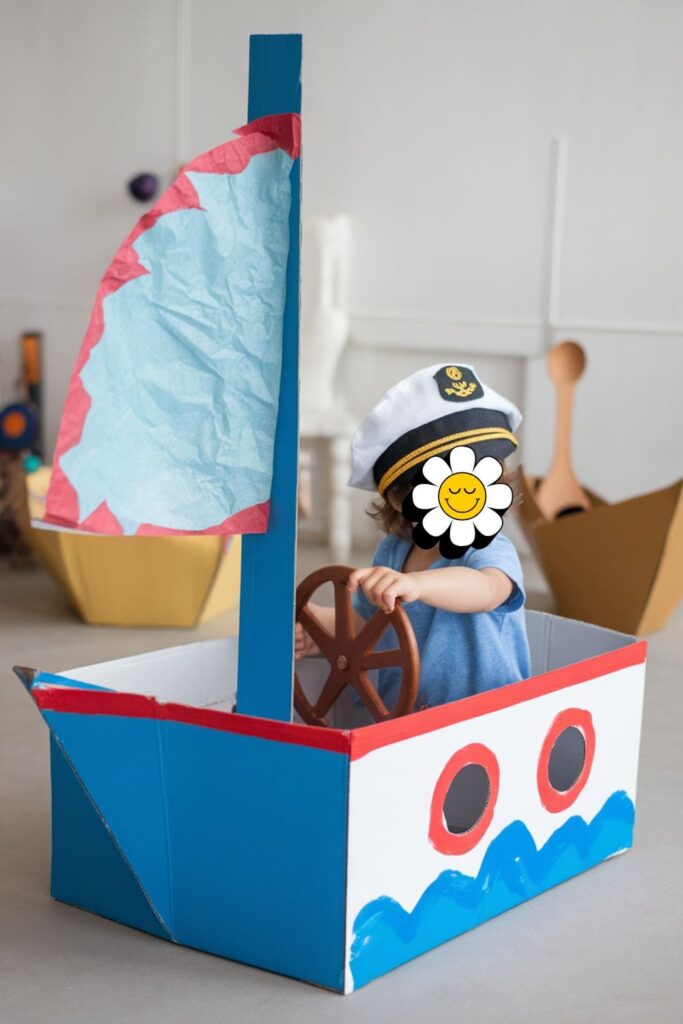
Let your child’s imagination go wild with a cardboard boat. This craft is easy to make and allows for creative decoration.
How to Make It:
- Materials Needed: A medium-sized cardboard box, paint, tissue paper, tape or glue, and scissors.
- Instructions:
- Cut a hole in the upper part of the box to create a deck.
- Paint the boat in bright colors and decorate it with designs.
- Create a sail using painted tissue paper and attach it securely.
Your child will love pretending to captain their very own cardboard boat.
7. Cardboard Tugging Box
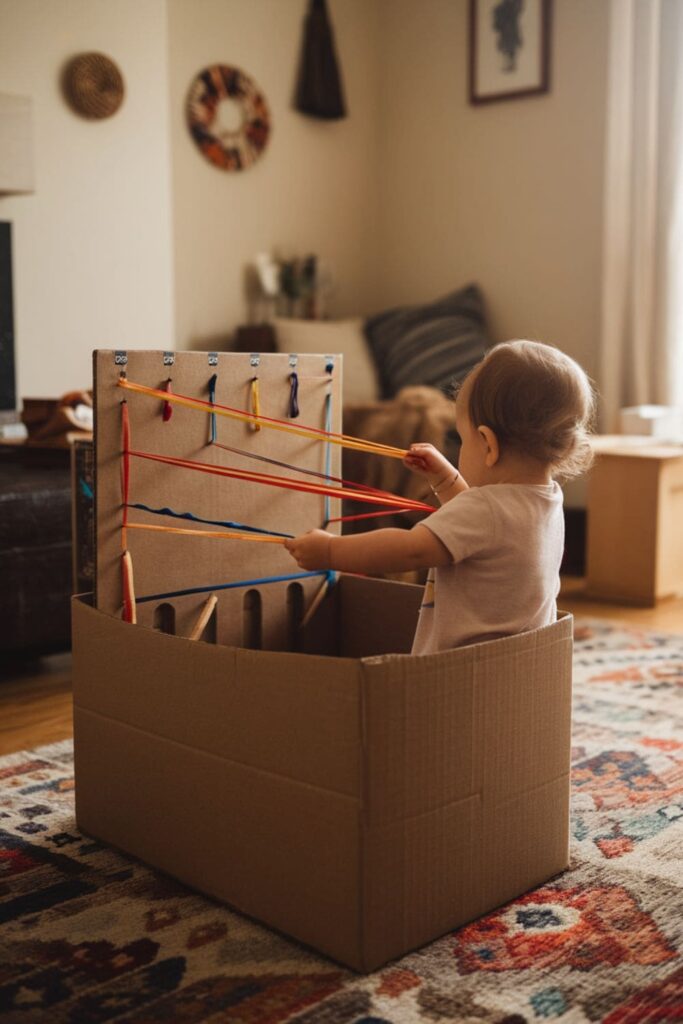
To engage your toddlers try making a fun and interactive cardboard tugging box, this simple project is designed to enhance motor skills while providing entertainment.
How to Make It:
- Materials Needed: A sturdy cardboard box, sticky tape, and ribbons of various lengths.
- Instructions:
- Puncture holes in the sides of the box to create entrance and exit points for the ribbons.
- Thread long ribbons through the holes and knot them at both ends to secure them.
- Seal the box with tape.
As children tug on the ribbons, they’ll be fascinated by how they move in and out of the box.
8. Cardboard Wall Clock
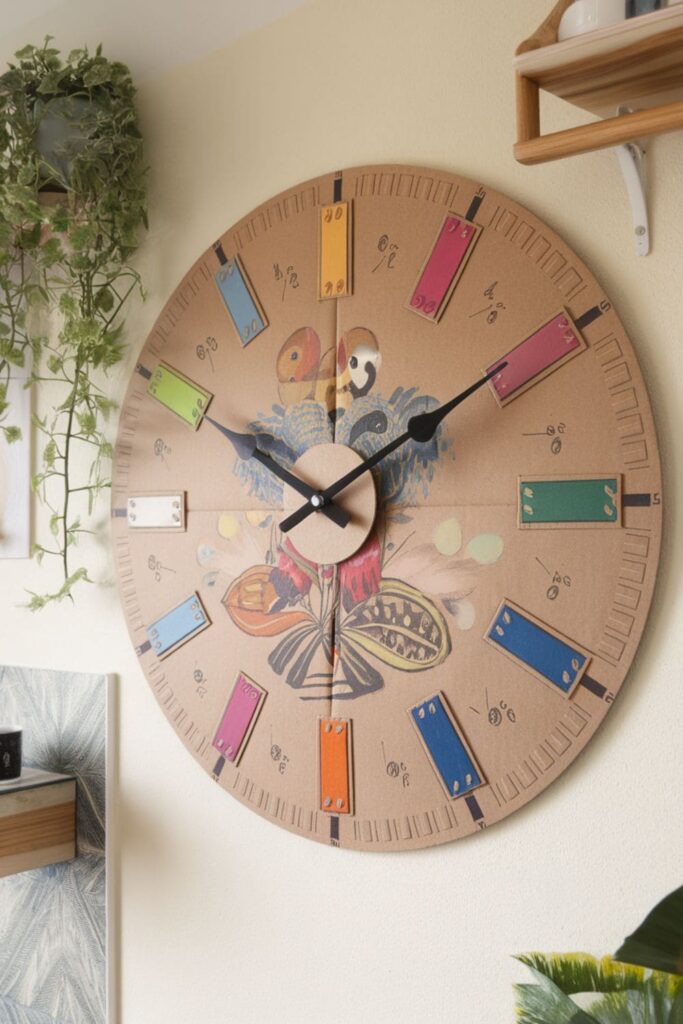
You can make time-telling fun by crafting a stylish wall clock from cardboard, this project combines functionality with creativity.
How to Make It:
- Materials Needed: Large piece of cardboard, clock mechanism (available at craft stores), markers or paint.
- Instructions:
- Cut out a large circle from the cardboard for the clock face.
- Mark hours around the edge and decorate as desired.
- Attach the clock mechanism at the back before hanging it on the wall.
Now, you’ll have a unique timepiece that adds character to any room.
9. Cardboard Storage Caddy
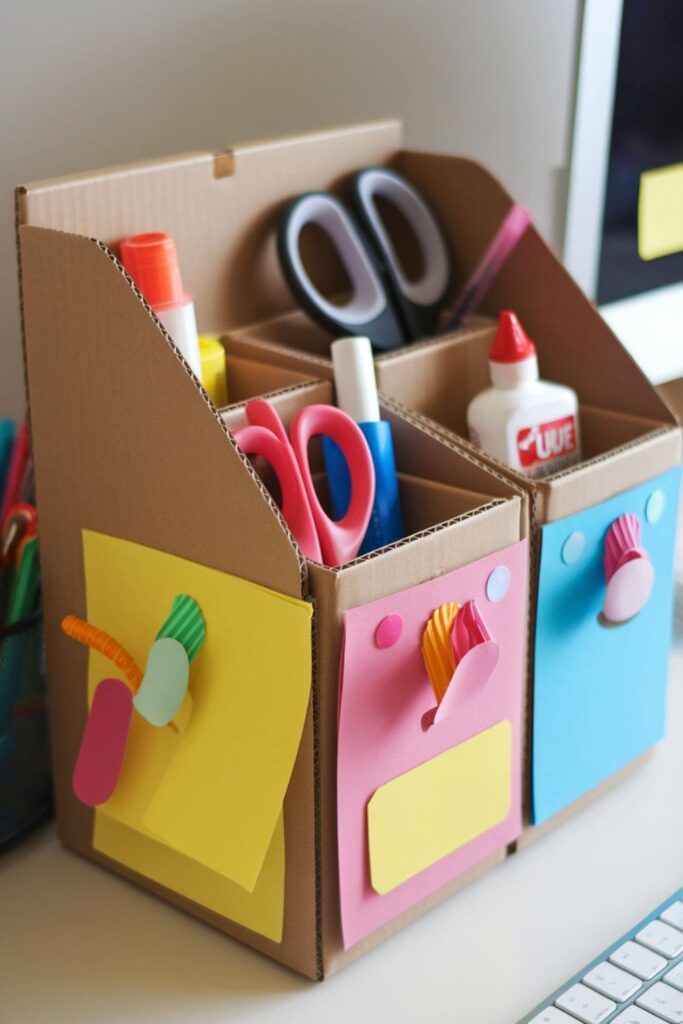
To organize your craft supplies or office essentials, try makig a handy cardboard storage caddy, this project is both practical and easy to make.
How to Make It:
- Materials Needed: Sturdy cardboard boxes, scissors, tape or glue, decorative paper (optional).
- Instructions:
- Cut one larger box into sections to create compartments.
- Assemble them into a caddy shape using tape or glue.
- Decorate as desired for added flair.
This caddy will help keep your space tidy while looking great.
10. Cardboard Seedling Pots
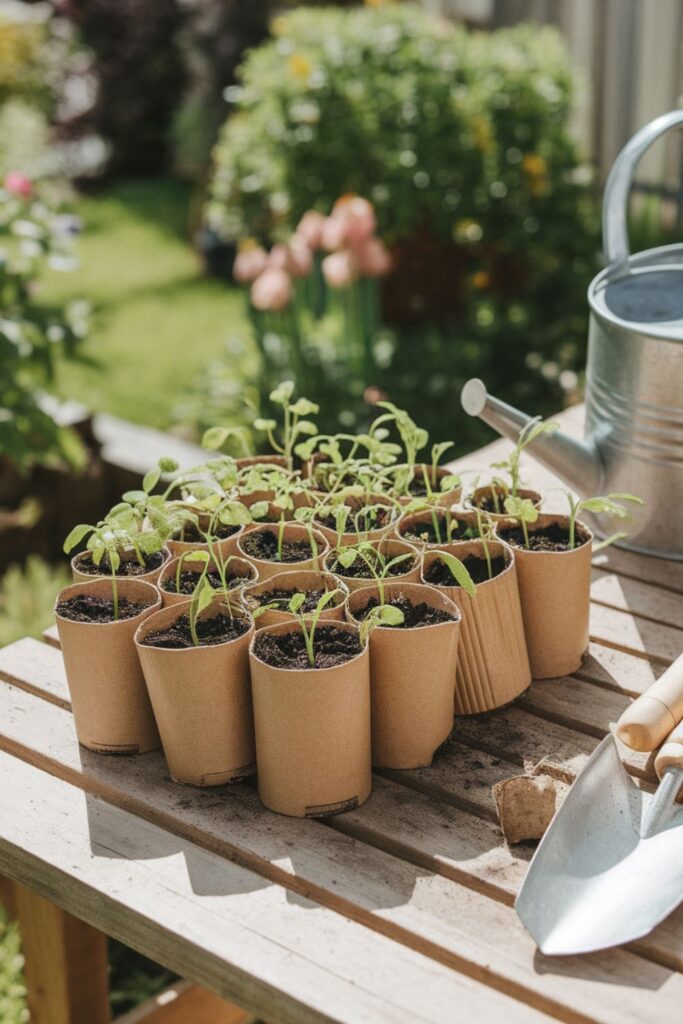
I think that you should start your gardening journey with eco-friendly seedling pots made from cardboard, this project is perfect for planting herbs or flowers.
How to Make It:
- Materials Needed: Cardboard tubes (like toilet paper rolls), scissors, soil, seeds.
- Instructions:
- Cut the tubes into desired heights for pots.
- Fill each tube with soil and plant seeds inside.
These biodegradable pots can be planted directly into the ground when seedlings are ready.
11. Cardboard Jewelry Box
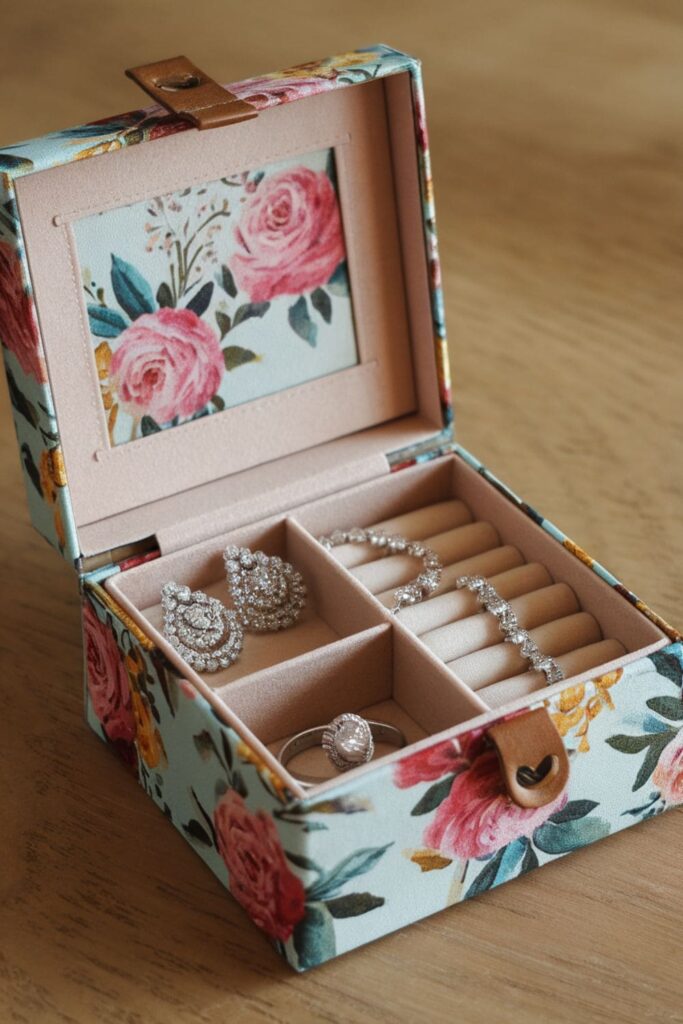
Create a beautiful jewelry box from cardboard that can store your precious accessories in style, this one is both functional and decorative.
How to Make It:
- Materials Needed: Cardboard sheets, scissors, decorative paper or fabric, glue.
- Instructions:
- Cut out pieces for the box base and lid.
- Assemble the box using glue and ensure it’s secure.
- Decorate the exterior with paper or fabric to give it a personalized touch.
Your jewelry will now have a lovely place to live in.
12. Cardboard Phone Stand
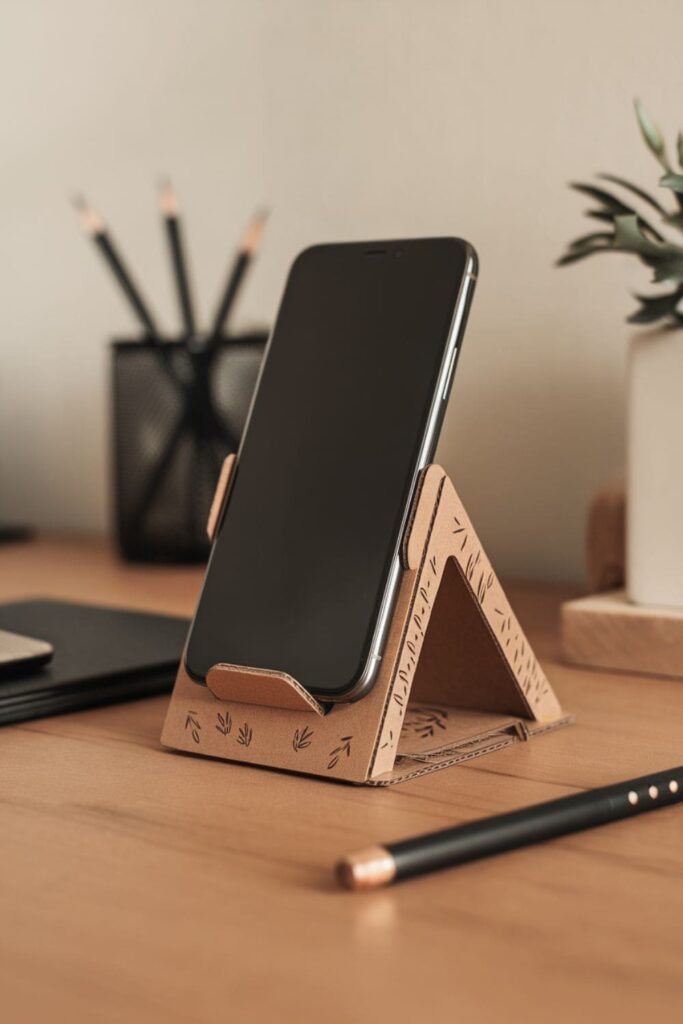
Keep your phone handy and at the perfect viewing angle with a simple cardboard phone stand, this practical craft is easy to make and incredibly useful.
How to Make It:
- Materials Needed: Sturdy cardboard, scissors, ruler, and glue.
- Instructions:
- Cut a rectangle from the cardboard for the base.
- Cut another piece into a triangle shape that will hold the phone upright.
- Attach the triangle to the base using glue, ensuring it’s sturdy enough to hold your phone.
Now, you can watch videos or video chat hands-free.
13. Cardboard Gift Boxes

Try wrapping your gifts in style by creating custom gift boxes from cardboard, this eco-friendly option adds a personal vibe to any present.
How to Make It:
- Materials Needed: Sturdy cardboard boxes (or sheets), scissors, decorative paper or ribbon.
- Instructions:
- Cut out box shapes (top and bottom) from the cardboard.
- Assemble them using glue or tape before decorating with wrapping paper or ribbons.
These gift boxes are perfect for any occasion—birthdays, holidays, or special surprises.
14. Cardboard Treasure Chest
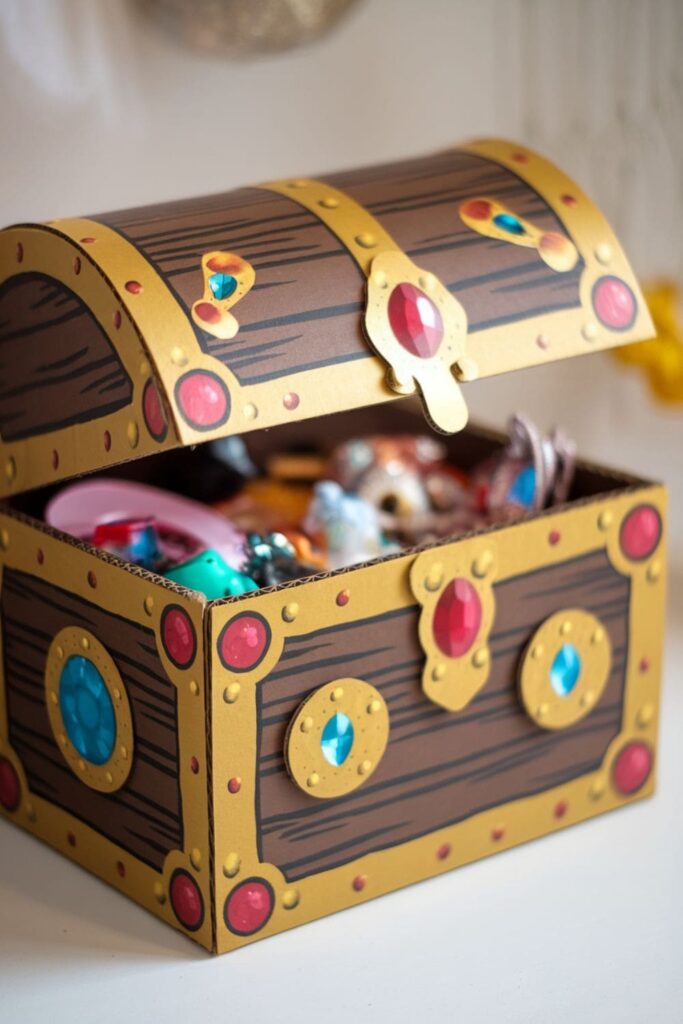
Create a magical treasure chest from cardboard that can store toys or trinkets, this craft is perfect for imaginative play.
How to Make It:
- Materials Needed: A medium-sized cardboard box, scissors, paint, and decorative materials (like stickers or jewels).
- Instructions:
- Cut the top of the box into a curved shape to mimic a treasure chest lid.
- Paint the exterior in gold or brown and decorate with jewels or stickers.
Your kids will surely love using this treasure chest to store their favorite items.
15. Cardboard Picture Frame Stand
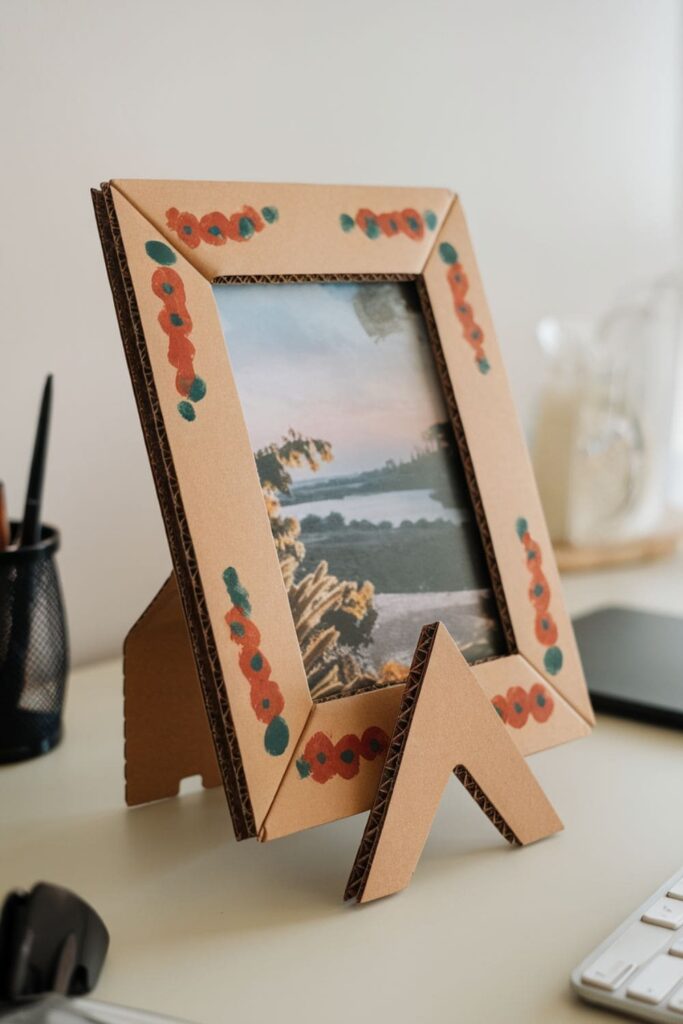
Make a stylish picture frame stand from cardboard to display your favorite photos of scenery or anything, this project is simple yet adds a personal vibe to your decor.
How to Make It:
- Materials Needed: Cardboard sheets, scissors, glue, and decorative paper.
- Instructions:
- Cut two pieces of cardboard into rectangles for the frame and a triangular piece for the stand.
- Decorate the frame with paper or paint before attaching the triangular stand at the back.
Now, you can showcase your cherished memories in style.
16. Cardboard Wall Organizer
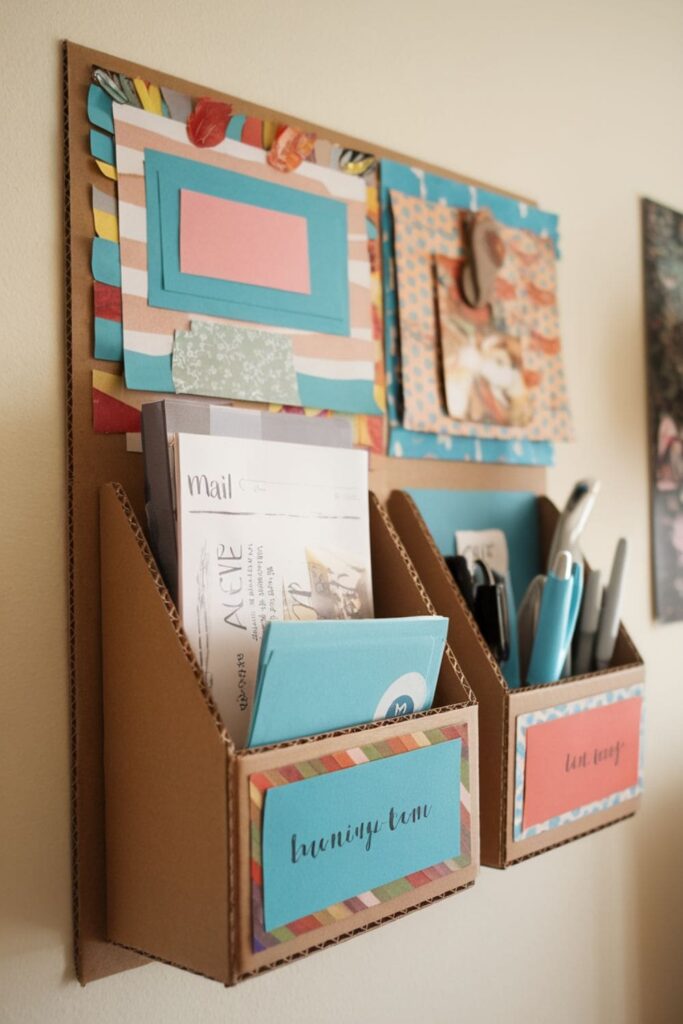
Keep your space tidy with a functional wall organizer made from cardboard, this project is perfect for storing mail or small items.
How to Make It:
- Materials Needed: Sturdy cardboard sheets, scissors, glue, and decorative paper.
- Instructions:
- Cut out compartments from cardboard to hold items like mail or pens.
- Assemble them into a wall-mounted organizer and decorate as desired.
This organizer will help declutter your space while looking stylish.
17. Cardboard Shadow Box
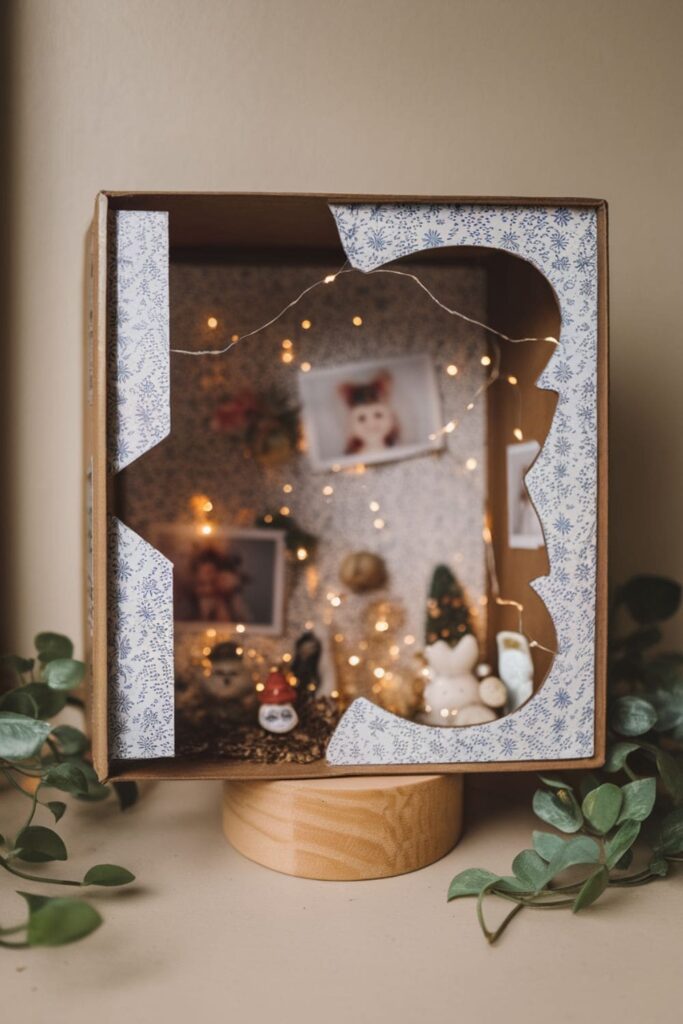
Create a beautiful shadow box from cardboard that can display memories or themed decorations, this craft allows for artistic expression.
How to Make It:
- Materials Needed: A box (like a shoebox), scissors, decorative paper, glue, and small items for decoration.
- Instructions:
- Cut out one side of the box for viewing.
- Decorate the interior with paper and arrange small items or photos inside.
This shadow box will make a lovely display piece in any room.
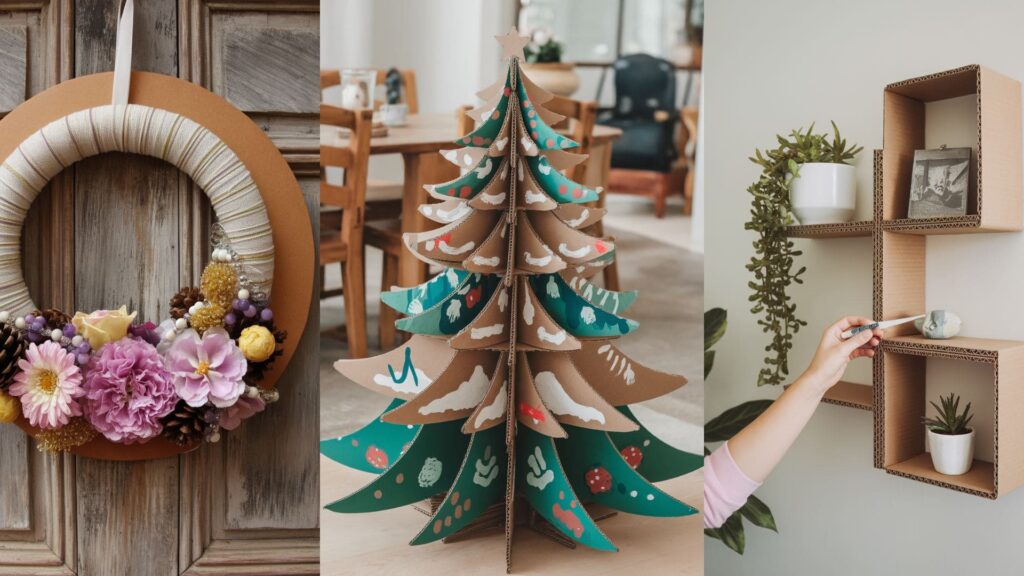
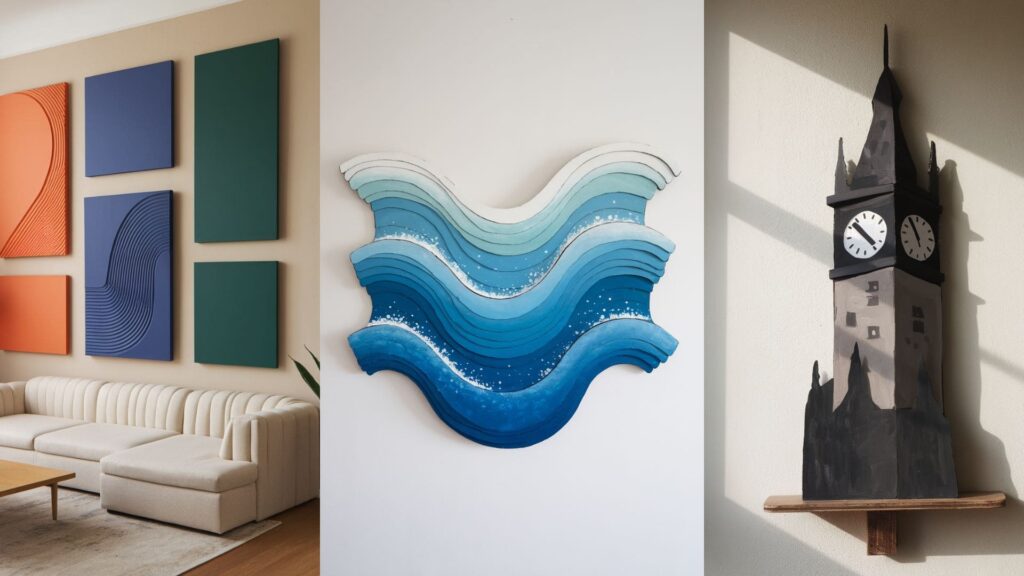
Related: 14+ Cradboard Wall Art Ideas To Try Now!
Conclusion
In my opinion, making things with cardboard boxes opens up a world of possibilities limited only by your imagination. Not only do they provide an opportunity for creativity but they also promote recycling and sustainability, a win-win situation.
So gather those old boxes sitting in storage and start crafting today; you might just discover a new favorite hobby along the way.
Pingback: 16 DIY Crafts with Cardboard Boxes for Kids You Need to Try!