So, now I beleive that getting organized doesn’t have to be expensive and difficult because I’ve spent some time researching DIY solutions for my workspace, and cardboard has consistently proven to be an amazing material (as always).
It’s free (kind of), versatile, and surprisingly durable when handled right, so let me share some practical cardboard crafts that’ll change your study table from cluttered to organized.
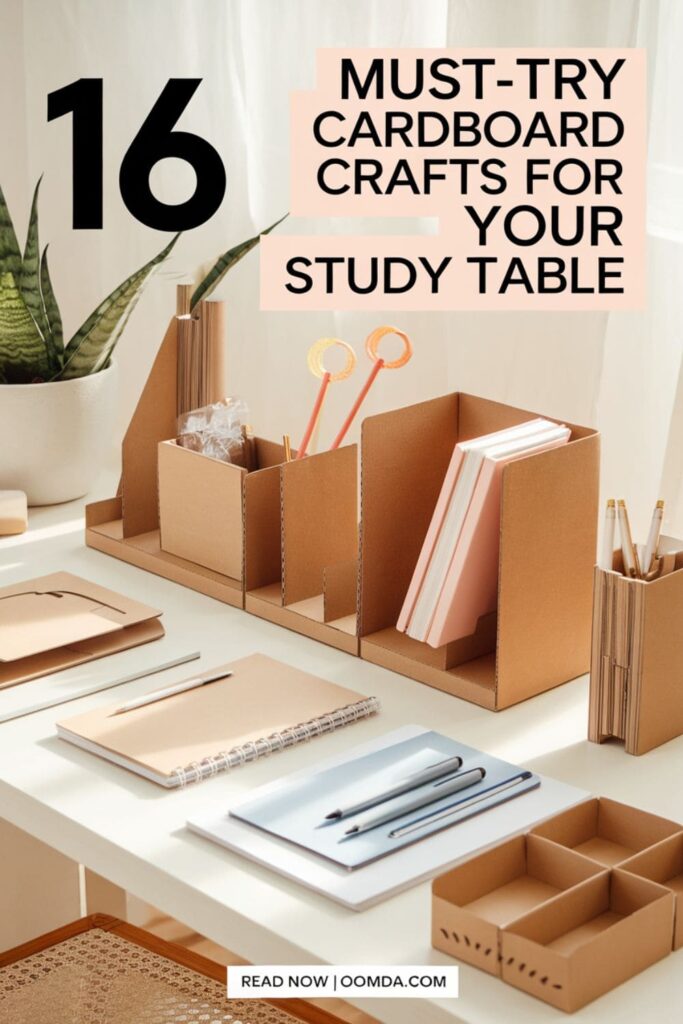
Cardboard Crafts for Your Study Table
1. Drawer Divider System
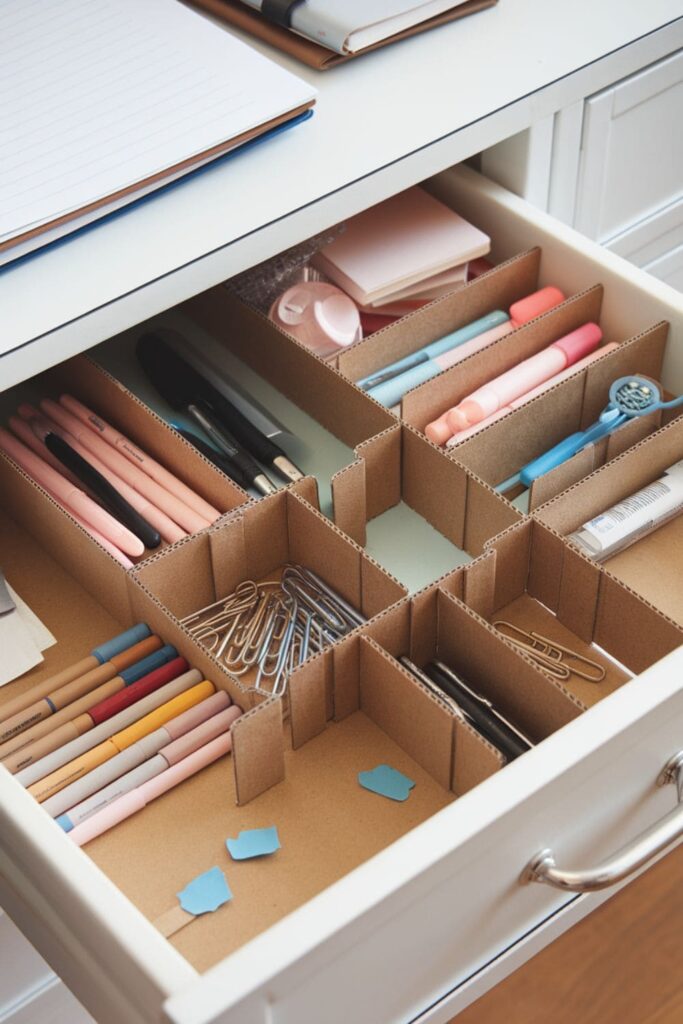
Try designing a customizable drawer organization system by cutting long strips of cardboard with notches that interlock.
Create different heights for various items, the grid pattern can be reconfigured as your storage needs change.
2. Portrait Display Stand
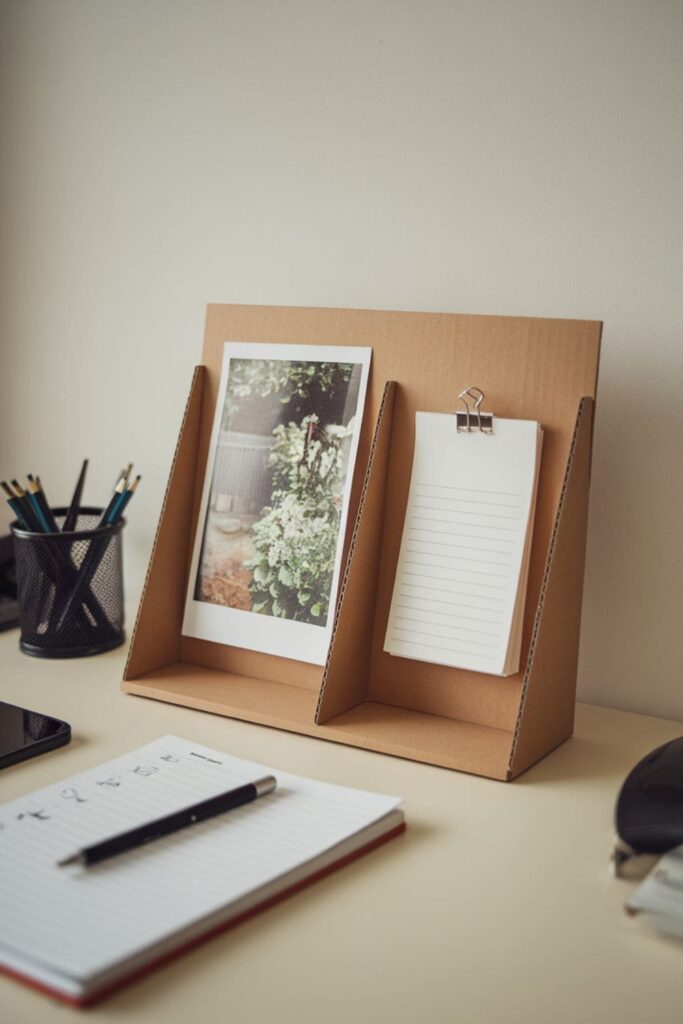
Construct an stand for photos or reference materials, etc. Create a base with multiple angled slots, then add side supports that prevent items from falling.
It’s going to be perfect for displaying inspiration or important notes at eye level.
3. Desktop Mini Filing System
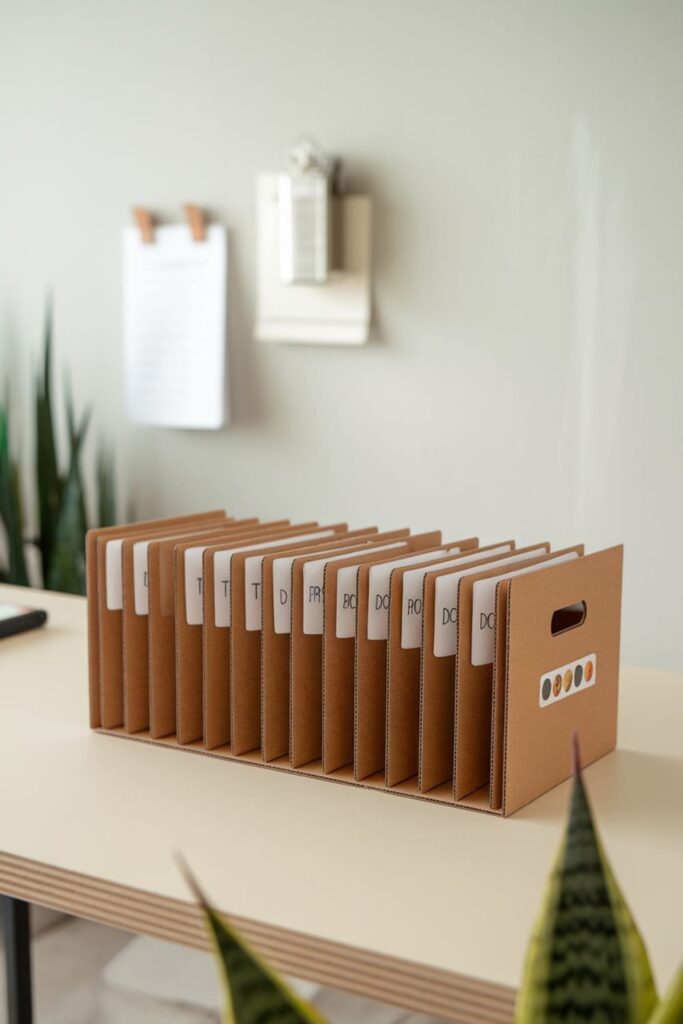
Build a compact filing system for all of your important papers. Create accordion-style dividers with labeled tabs.
Then, add a protective cover that folds over the top, which will keep sensitive documents organized and protected from dust.
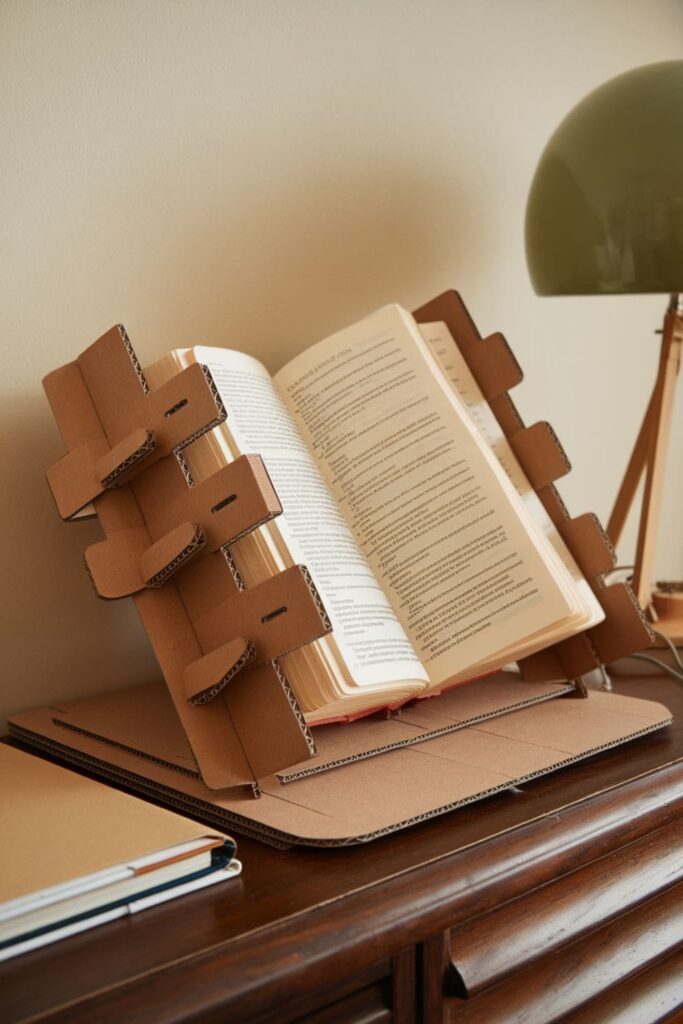
4. Book Stand
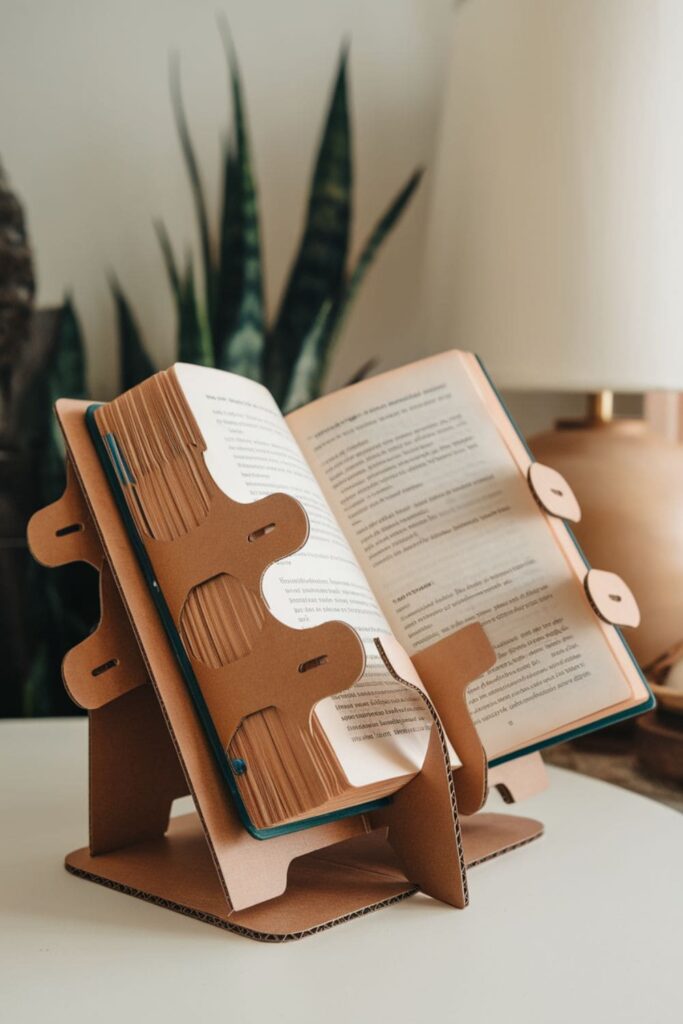
Design a pretty book stand with multiple viewing angles (if you can). Cut a base piece with several notched positions.
Create a sturdy back support that can be inserted into different slots, and also add page holders at the bottom to keep books open.
5. Desktop Mini Greenhouse
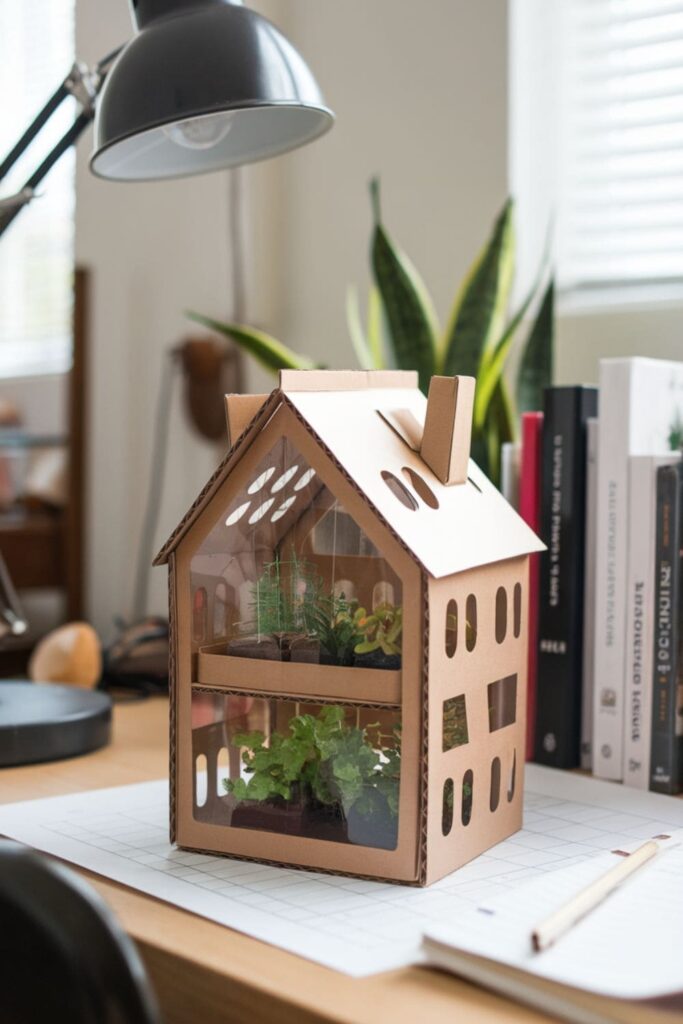
Craft a small greenhouse for your tiny desk plants using clear plastic and cardboard. So, build a simple house shape with ventilation holes.
Add a removable top for easy plant care and small shelves for multiple plants.
6. Desk Cup Holder
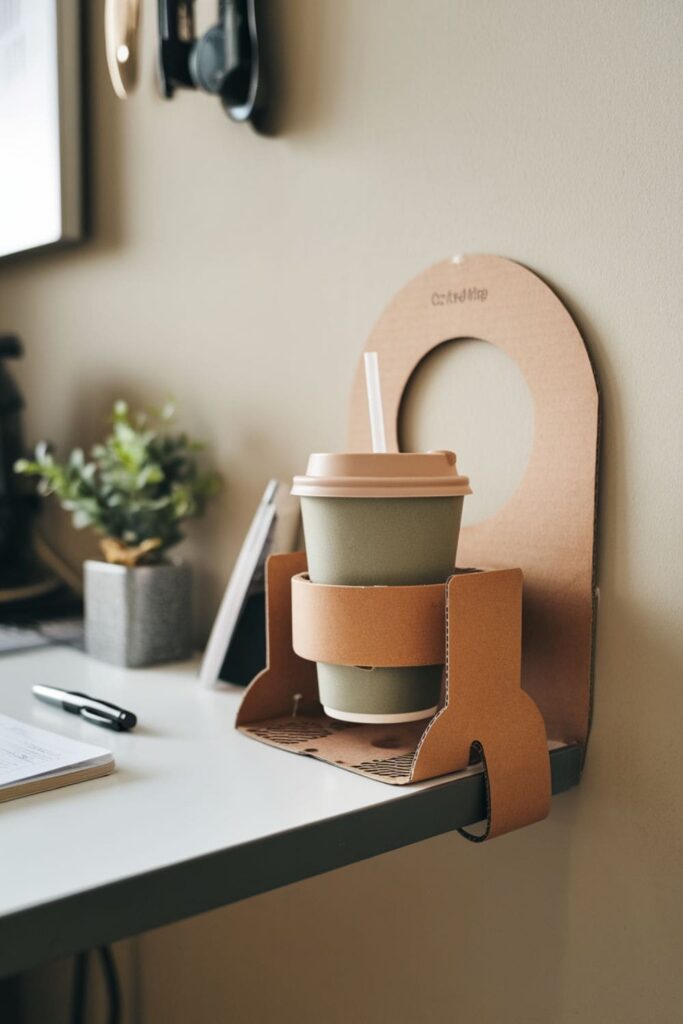
Design a cup holder that clamps to your desk’s edge, or just make a simple cup holder. Create a circular holder with support arms that extend over and under the desk edge.
Add a drip tray at the bottom to catch condensation and, more importantly, prevent water damage to your desk.
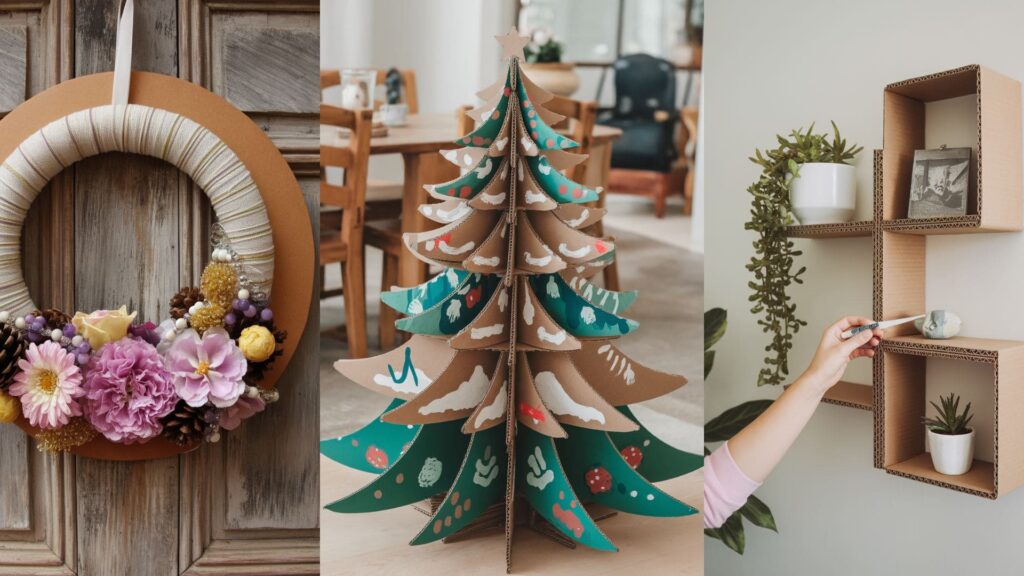
7. Floating Shelf System
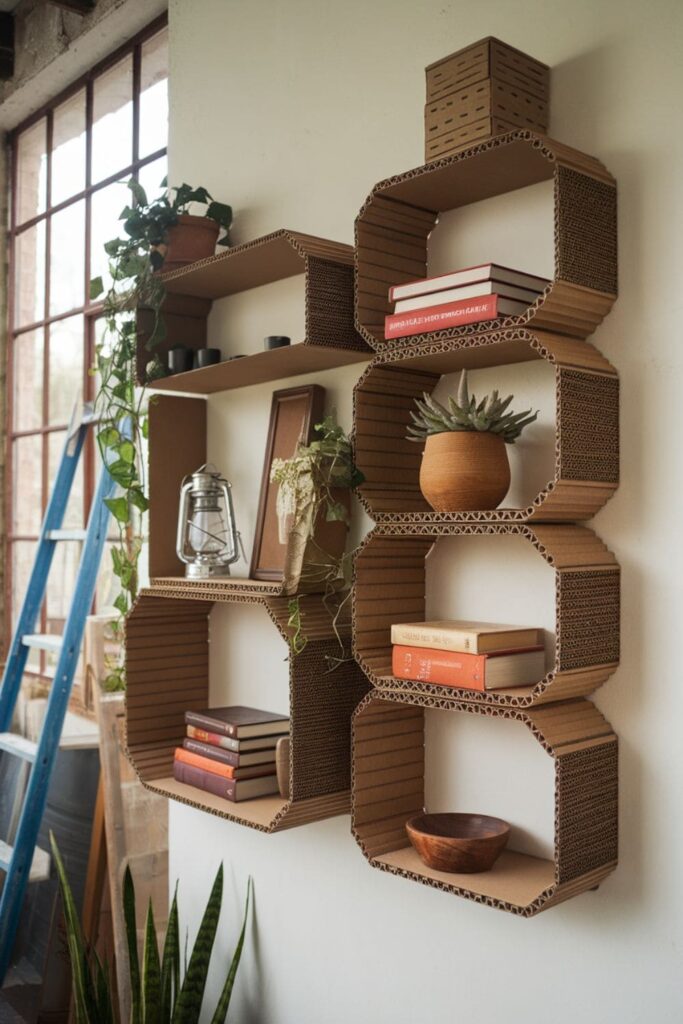
Construct wall-mounted shelves that appear to float. Build hollow rectangular boxes with cardboard brackets that slide into wall-mounted supports.
And also create multiple sizes for visual interest and different storage needs. Just make sure to put light stuff on it and use sturdy cardboard.
8. Desktop Whiteboard Stand
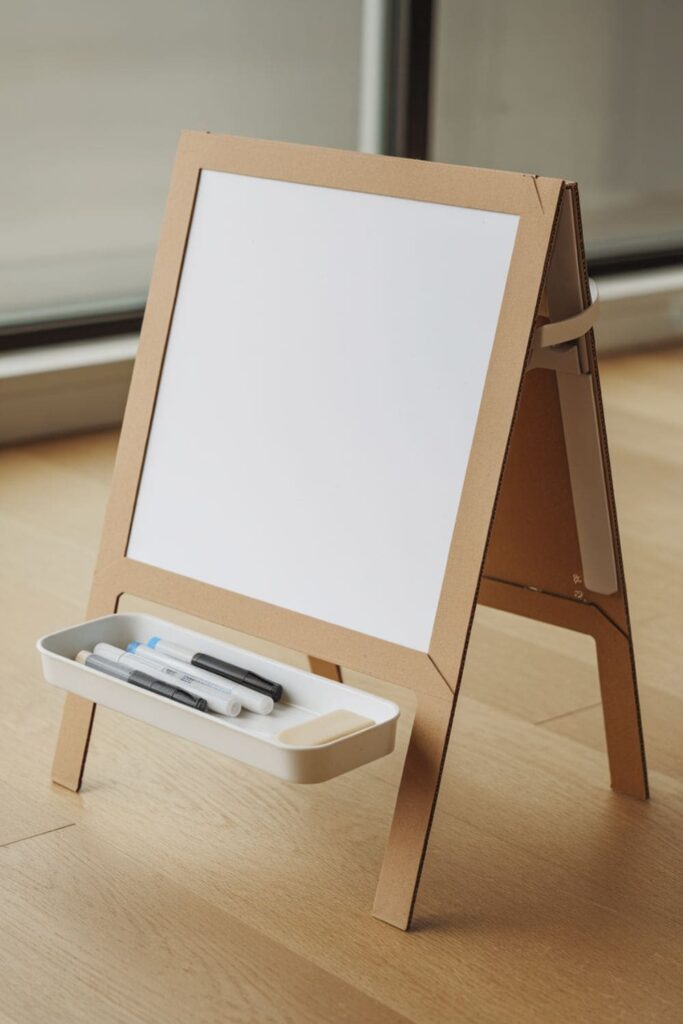
Make a nice portable whiteboard using smooth cardboard and whiteboard contact paper.
Build a stable A-frame stand with adjustable angle settings, then add a small tray at the bottom to hold dry-erase markers and an eraser.
Related: 17 DIY Kitchen Clay Crafts!
9. Stackable Paper Tray System
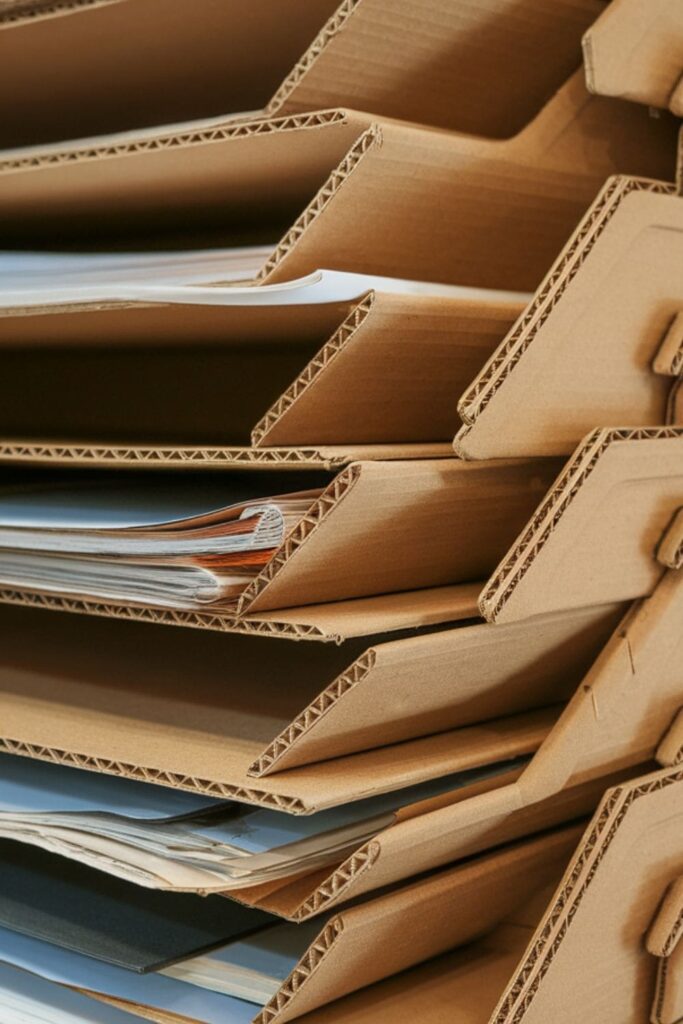
Design interconnecting paper trays that stack securely by cutting identical rectangular bases with raised edges, but add notches and tabs on the corners that lock together.
Create small risers for each corner that allow enough clearance between levels. The modular design means you can add or remove trays as your needs change, but keep in mind that they might be harder to make.
10. Desktop Mail Sorter
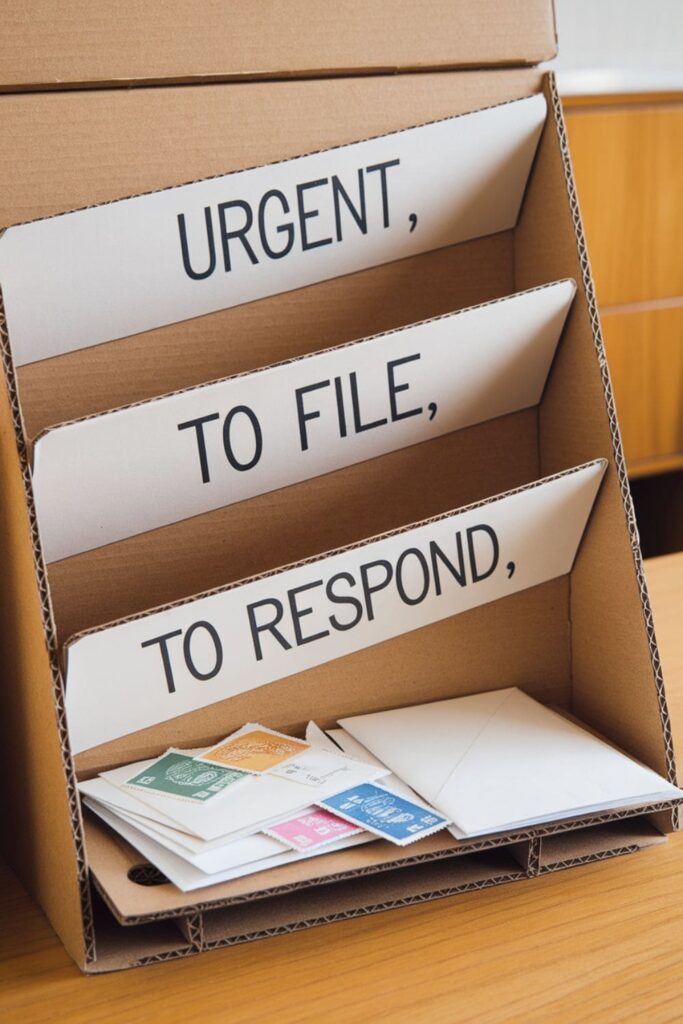
Construct a mail sorting station with multiple angled slots, create dividers for different categories like “urgent,” “to file,” and “to respond.”
And add a small shelf at the bottom for stamps and envelopes, which will keep paper correspondence organized and visible.
11. Modular Supply Cups
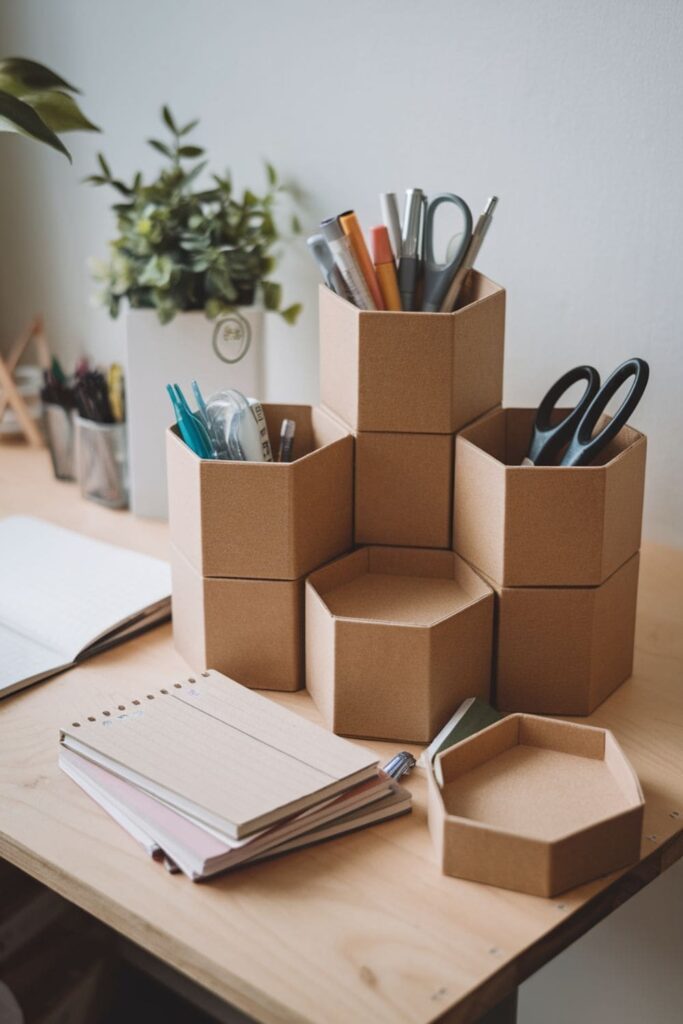
Design interlocking supply cups that can be arranged in different configurations. Start by cutting and folding hexagonal shapes that connect at the sides.
Add different heights for various supplies, the modular design lets you customize your storage layout as needed.
12. Magazine Rack with Reading Light
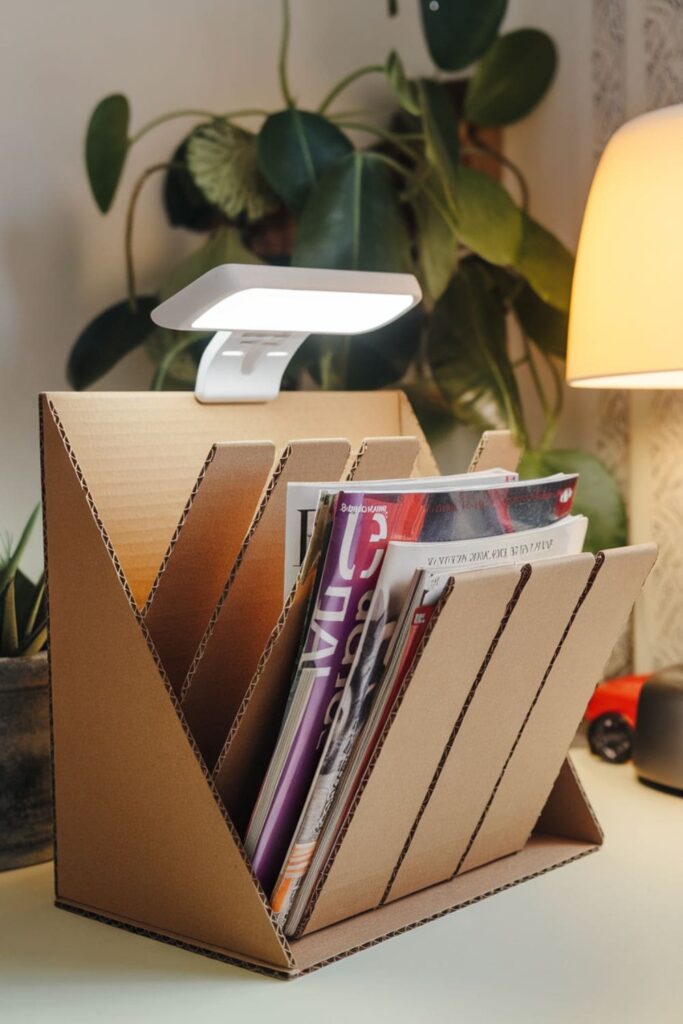
Build a slanted magazine rack with an integrated light holder for the aesthetics. Create a basic slanted file with additional support at the top for a clip-on reading light.
Add dividers for different publications, this will help keep reading materials organized and well-lit.
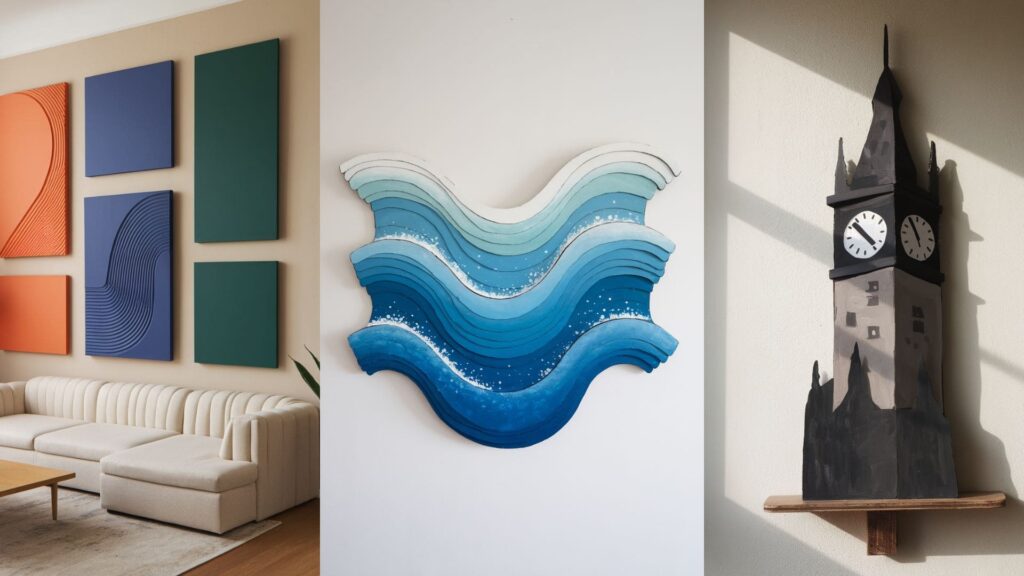
13. Desk Clock Stand
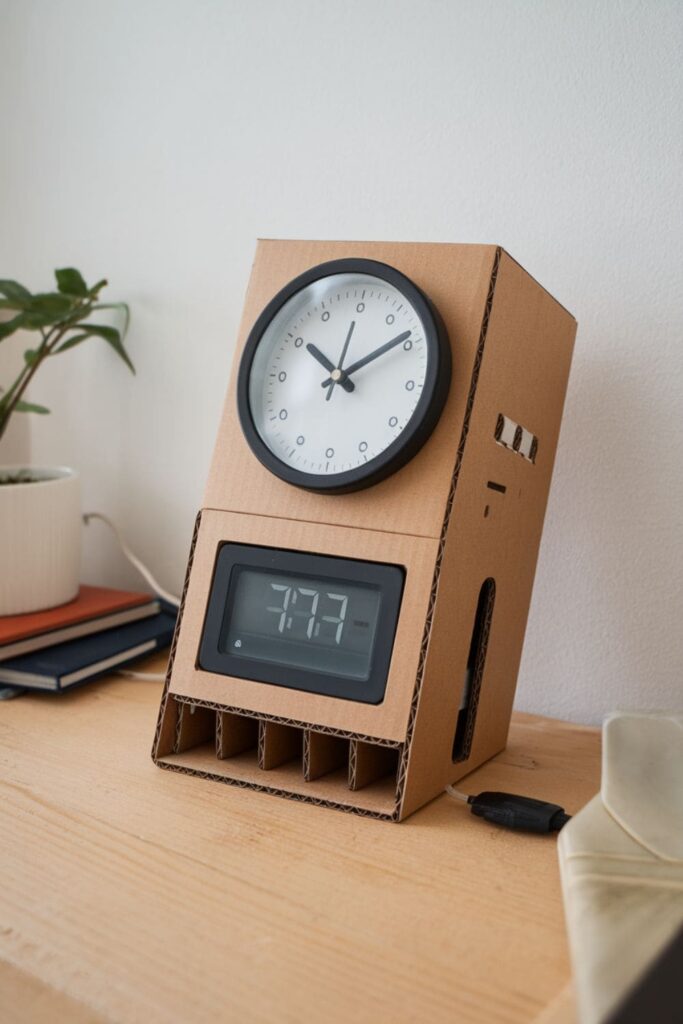
Craft a unique clock stand with a little bit of built-in storage. Create a slanted face for the clock display with small compartments underneath.
Then add a slot in the back for cables if using a digital clock, this combines timekeeping with practical storage.
14. Expandable Book Rest
Design a bookrest that adjusts to different sizes. Cut a base piece and a back support with multiple fold lines.
Add side supports that can be positioned at different angles. This accommodates everything from thin notebooks to thick textbooks.
15. Desk Mat
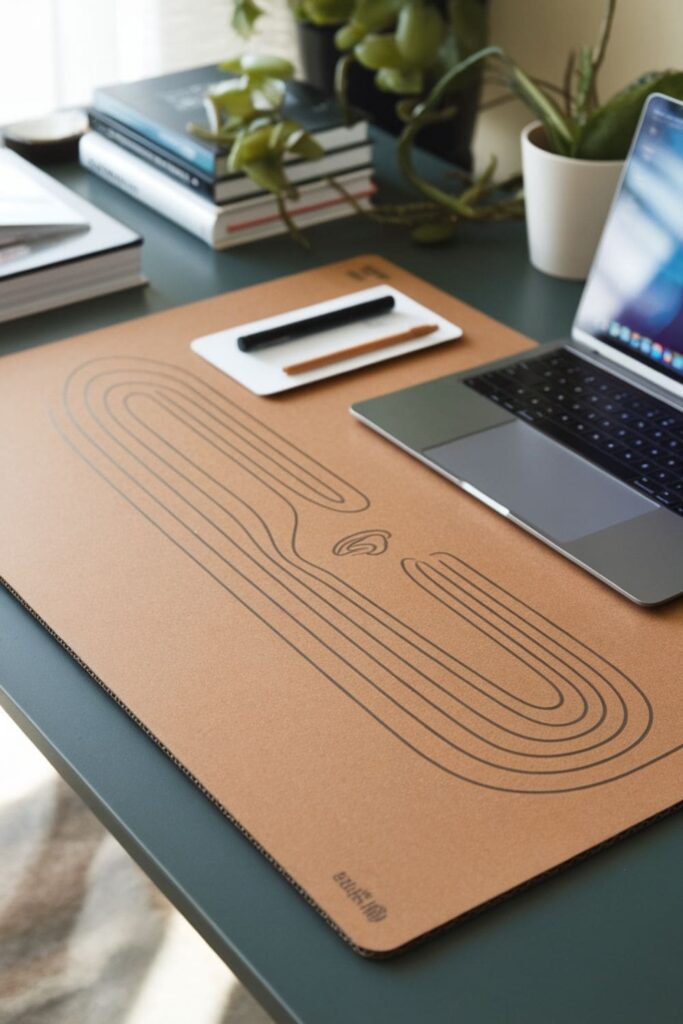
Craft a large desk mat from layers of corrugated cardboard. So, cut multiple pieces to the same size and then glue them together for thickness.
Also, make sure to cover with fabric or contact paper for a professional look. This protects your desk surface while providing a defined workspace.
16. Keyboard Wrist Rest
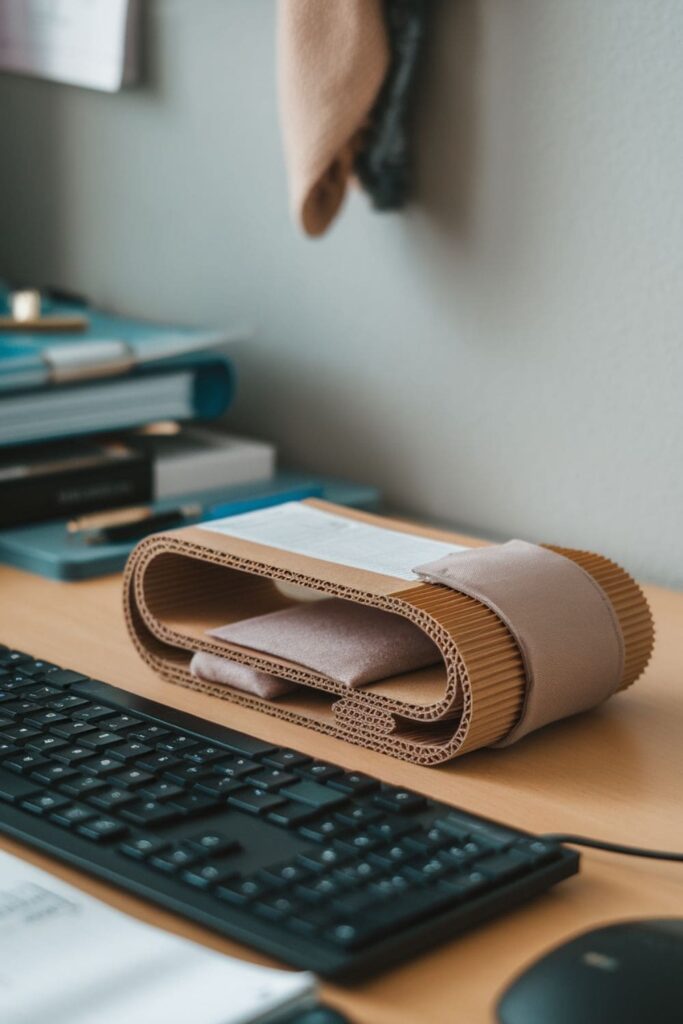
Fashion a comfortable wrist rest from perfectly rolled cardboard tubes. Cut several tubes to keyboard width, and wrap the entire structure with a soft fabric for comfort.
Secure the fabric with hot glue and add non-slip material to the bottom. Now, your wrists will thank you during long typing sessions.
Related: 16 DIY Clay Gift Ideas!
Conclusion
These cardboard crafts will help change many study space, and one of them might be yours, so start right now. The best part? They cost almost nothing to make. You’re not just organizing your desk, but you’re also helping the environment by reusing materials.
Most of these projects take less than an hour to complete. Just remember to use sturdy cardboard and reinforce stress points, and keep in mind that clean cuts make all the difference. Give these projects a try this weekend, and your study table will look better than ever.